Ol’ Reliable Sourdough Loaf
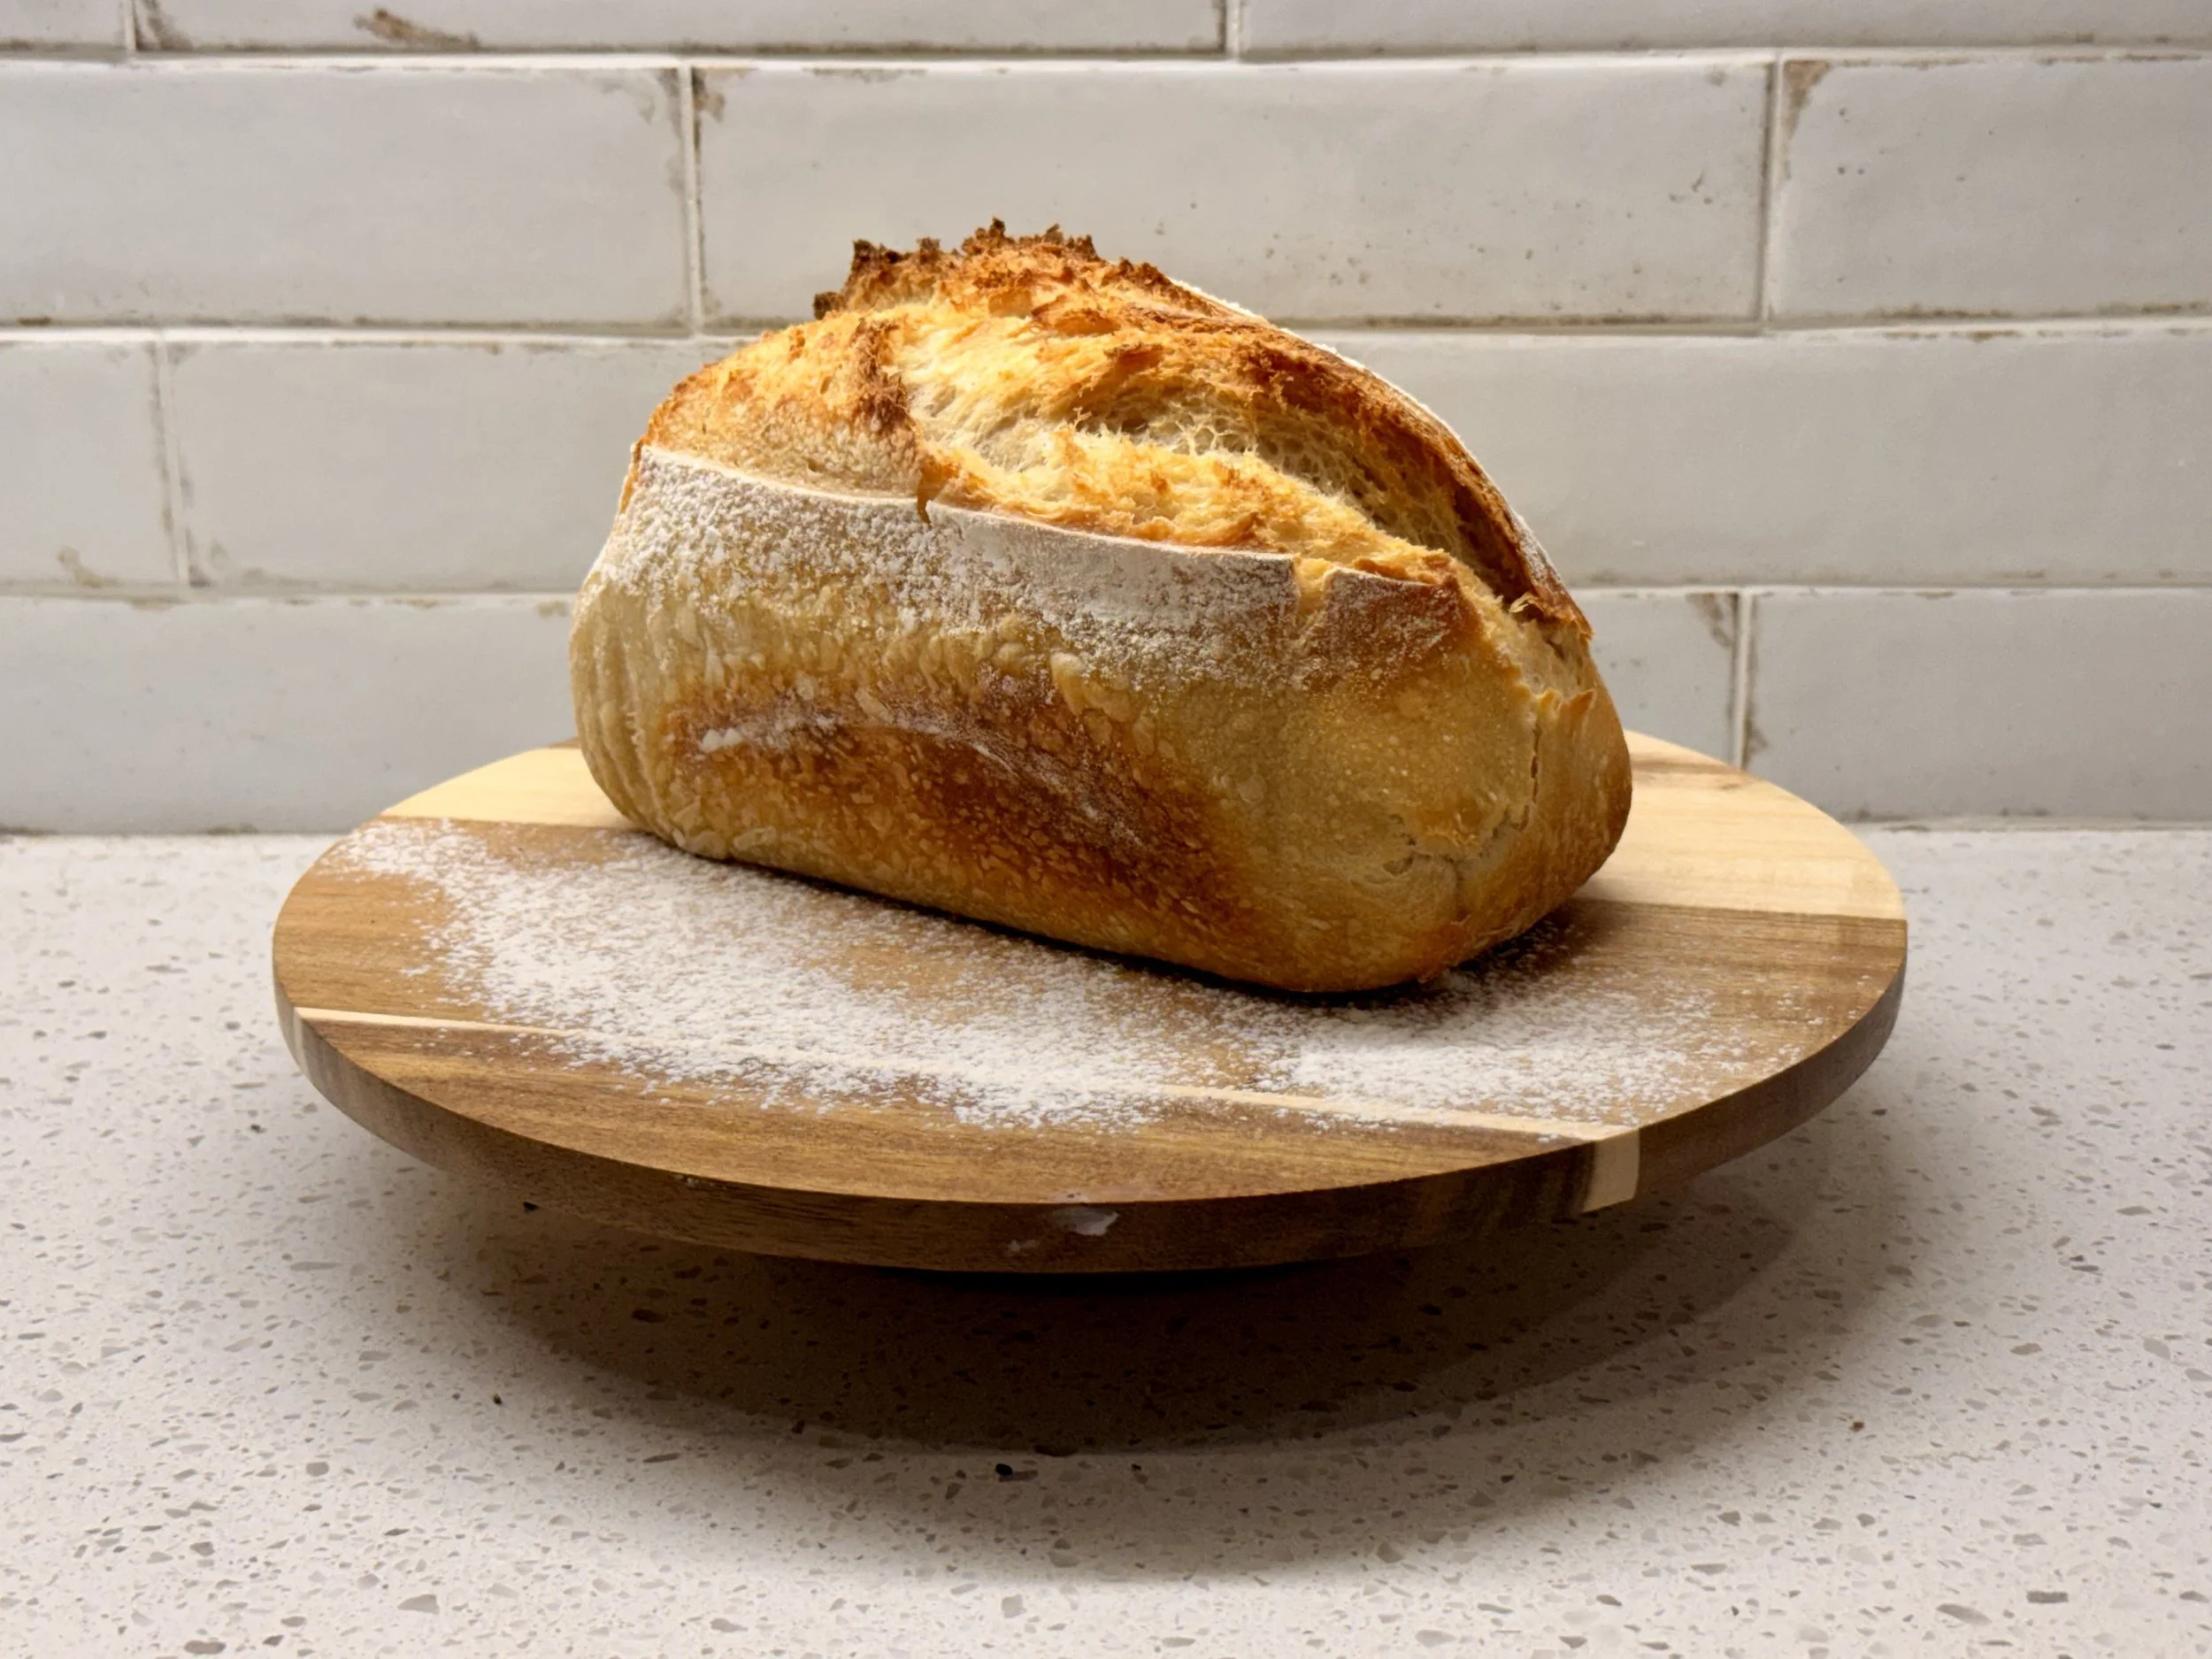
She’s gorgeous right!!
Ol’ Reliable Sourdough Loaf
This is my original sourdough loaf that I have been building my micro bakery off of for the last year. Most of my loaves start out as my original sourdough loaf, and then I add my inclusions making each loaf different!
Ingredients
100 g active sourdough starter
325 g warm water
500 g bread flour (my trusty bread flour has always been King Arthur)
7 g salt
Equipment
Large Bowl
Kitchen scale (YES! I personally think my baking life has been 10x easier with one)
Bowl cover, preferably the clear shower cap style bowl covers. I get mine off amazon.
Danish dough whisk
Dutch oven OR 2 loaf pans
Loaf pan liner or parchment paper
Directions
In a bowl add your starter and warm water. Whisk with your danish whisk until incorporated. The mixture should be a milky color and be slightly frothy.
Add in your bread flour and salt. Using your dough whisk, mix your salt on top into your flour slightly then start to mix your dough. You will start to notice that it’s getting harder to mix and get everything incorporated. This is where I set down my dough whisk and use my hands to fold everything together until a nice shaggy dough forms.
Cover your bowl with a clear bowl cover and let the dough sit for one hour.
After a hour, it’s time for stretch and folds. Grab a corner of your dough, pull it up, but not too much to where it tears your dough, and slap it down over itself to the other side of the bowl. I do this 4 times, where I have stretched and folded my dough in every corner of the bowl. Cover your dough and let sit for 30 minutes.
After 30 minutes, it’s time for another stretch and fold. You should notice your dough becoming smoother and tension building in your dough. This is the gluten developing. I do my second set of stretch and folds and let my dough rest, covered, for another 30 minutes.
For the 3rd and 4th set of folds, I do coil folds. I scoop my hands under the middle of both sides of my dough ball, let gravity do the work by pulling my bread down towards the bowl then setting the bread down on top of itself. I turn my bowl a quarter turn and do another coil fold. Let my dough rest and do the 4th set of folds (another coil fold)
Now it’s time to bulk ferment. I cover my dough and let it sit for around 6 hours (this has been my magic number for my home and where I live. It will take a few times for you to figure out your magic number of bulk ferment hours. I know my dough is done bulk fermenting when it’s jiggly on top, has a few bubbles, and the dough easily pulls away from the sides of the bowl.
It’s time to shape. I dump out my dough on a well floured surface and do a pre shape. I use to not do this because honestly I didn't understand the purpose, but i’ve noticed a nicer crumb to my loaves when I do. I start by pushing and pulling my dough on the counter until I have a nice smooth ball of dough. I let it bench rest for 30 minutes and then I do my final shaping. For my final shaping I will either do the trifold method (I find best for my inclusion loaves) or the double caddy clasp method. You can find videos of both of the methods on my Tik Tok ;)
I lay my shaped dough seam side up in a flour banneton. I let my dough rest for about 15 minutes and I stitch the seam. You just take a small piece of the left side of the seam and pull it to the right and then take a small piece from the right side and pull it to the left, kinda like a braid. This keeps tension in your dough and makes for nice crumb and tall rise when it’s baking.
I cover my dough and set it in the fridge overnight or for up to 48 hours to cold proof. I’ve learned that 72 hours is really too long for my dough. It starts to lose its tension on day 3.
On bake day I take my loaves out and preheat my oven to 450. I flour a loaf pan liner and plop my dough on it, seam side on the bottom of the parchment paper. You should have a smooth looking dough on top. I spray my dough with water; this creates steam in the oven and makes a nice rise during the first 30 minutes of baking, it also makes the outside crispy. I flour the top of my loaf and use a bread scoring tool to cut a line down the middle either on the left or right side. I cut it about a half in deep so the dough has plenty of room to expand and make a nice ear on the loaf. I place my dough and the liner into a loaf pan and place another loaf pan on top. This is my makeshift dutch oven. I do own a dutch oven but when i’m baking for markets I like to fit 6 loaves in my oven at a time and this way is more efficient for me. I place my loaf pan in the oven for 30 minutes at 450 then I take the top loaf pan off, and turn the oven down to 425 and bake for another 20 minutes or until the middle is 200 F.
Let your loaf cool on a rack for AT LEAST a hour. I know your house is gonna smell like Panera and you’ll want to cut into right away but don’t. It finishes baking inside for that hour. If you cut into it too early, your dough will be gummy. That’s it! You have a gorgeous loaf that probably won’t last a hour, at least not in my house because sourdough really is that good! :)
Tips
It’s easier to stretch and fold your dough with wet hands. Personally, when i’m making bread, i’m making 15 loaves at a time for markets and it’s easier for me to use gloves.
A kitchen scale has been my life saver! I use to go way out of my way to find recipes that were not in grams but it was a game changer when I started using grams.
I package my loaves in brown bags with a see through window and tabs. I use a perforator tool to poke micro holes in the see through window to keep condensation from building up. I’ve learned that this combination keeps my sourdough loaves fresher for longer. The micro perforations don’t keep all the condensation out, because of course in Tennessee, it’s humid and hot as hell; but my customers seem to understand and take the extra care that their loaves need.
I used a digital kitchen thermometer to measure the temperature of my bread. My OCD brain tells me when I can’t cut open my loaves to see my crumb when i’m selling them, that it’s not done in the middle. So I make sure my loaves reach 200 degrees F before I pull them out of the oven.